I've been trying to play around with pentesting android apps and have run into some problems. I thought that the traffic intercept work flow would simply consist of:
- Start Burp Suite Proxy
- Install user-level Burp CA in Android
- Point proxy settings in Android device to Burp
- Start intercepting traffic
However, I've been experiencing some problems with a user-level CA installed.
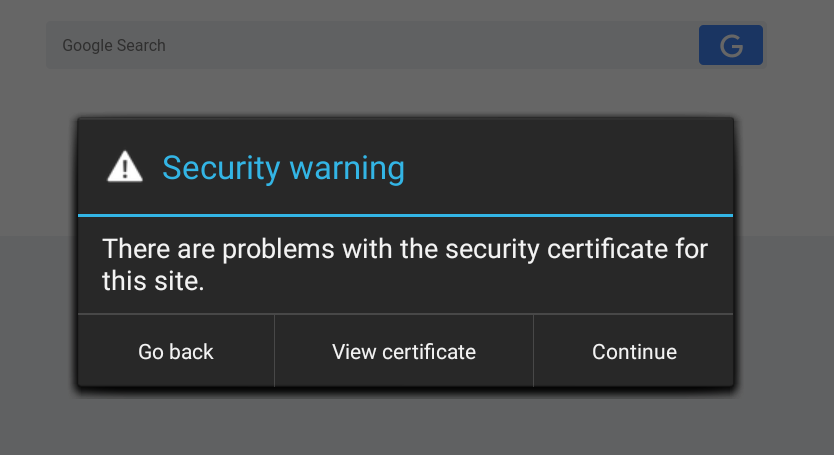
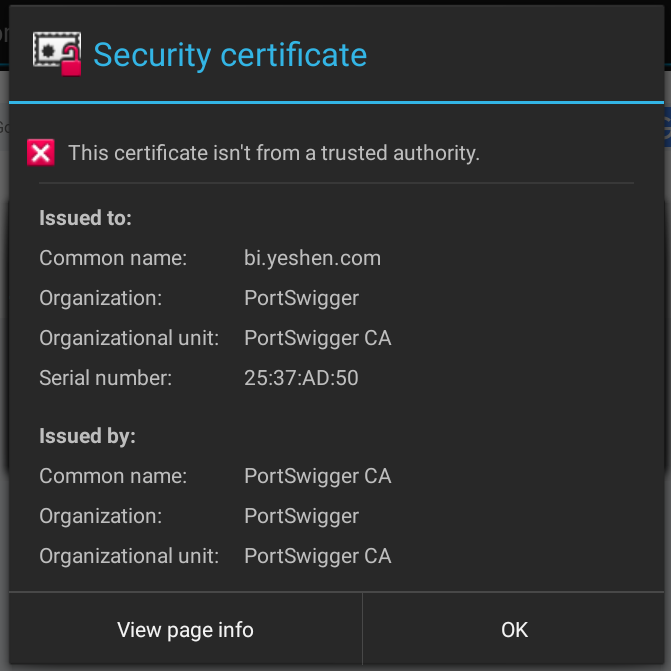
Apparently, starting with Android Nougat (API >=24), it is no longer possible to just install Burp Suite's CA as a user certificate to start intercepting traffic. Apps now will only trust system level CAs.1
Installing system-level Trusted CAs
In Android, trusted CAs are located at /system/etc/security/cacerts using a special format. Certificates must be in the PEM format with the filename of <subject_hash_old>.0
1. Export Burp CA and convert to PEM
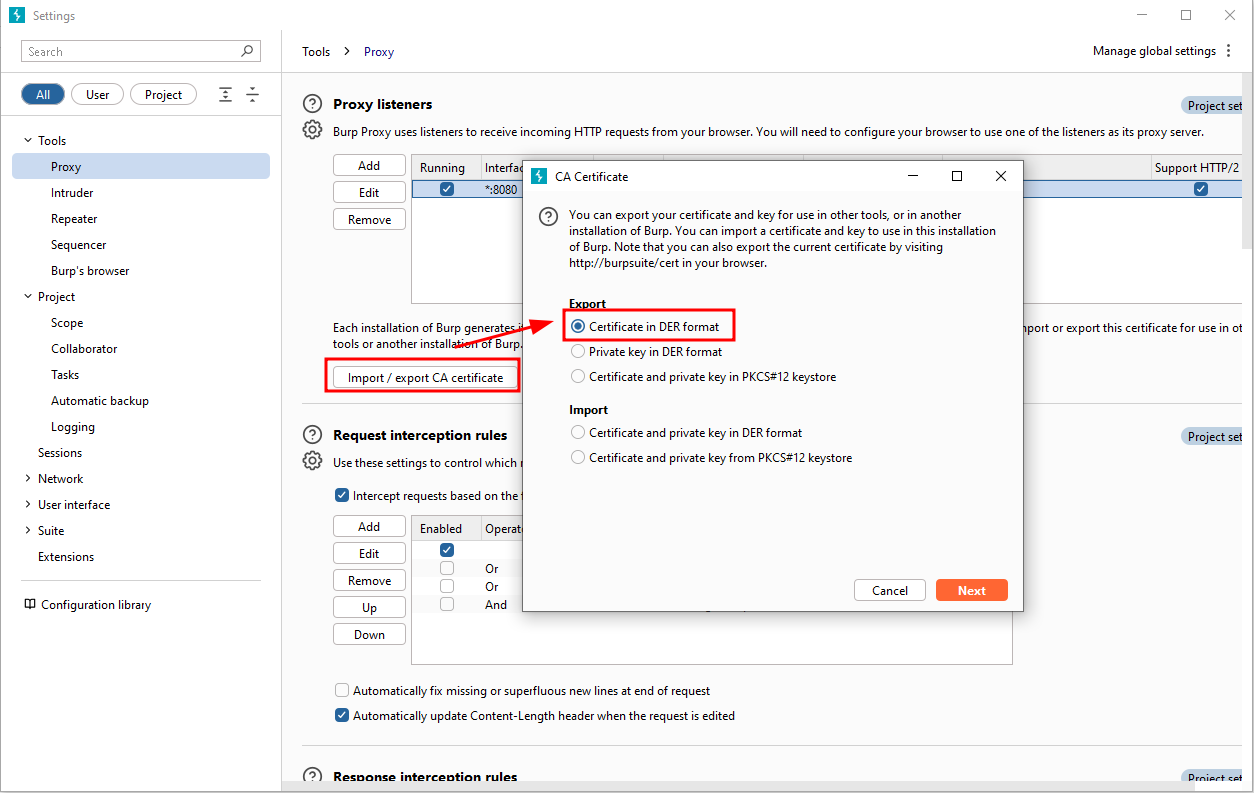
We can then use openssl to convert the .der file to .pem
openssl x509 -inform DER -in cacert.der -out cacert.pem
openssl x509 -inform PEM -subject_hash_old -in cacert.pem |head -1
mv cacert.pem <hash>.0
2. Copy the CA to the device
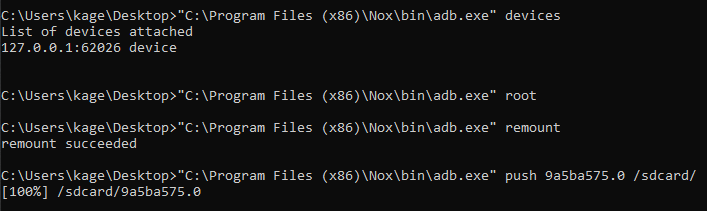
In order to install the certificate as a trusted CA, we need to copy the file to /system/etc/security/cacerts, which isn't easily accessible by normal users. We have to remount /system to be writeable, which can be done via adb root
adb devices
adb root
adb remount
adb push <cert>.0 /sdcard/
As an example, here I'm using NoxPlayer2 as the emulator of choice
From here, go into adb shell and transfer the CA file from /sdcard to /system/etc/security/cacerts/ and reboot
adb shell
mv /sdcard/<cert>.0 /system/etc/security/cacerts/
chmod 644 /system/etc/security/cacerts/<cert>.0
reboot
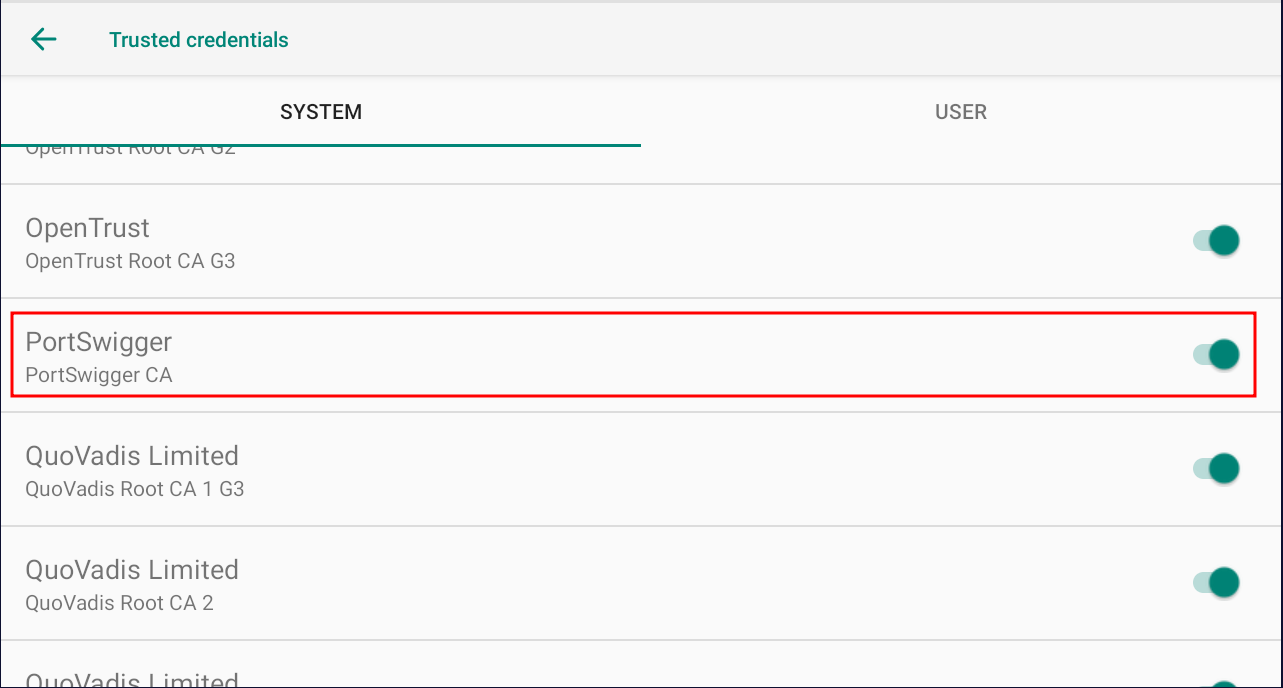
3. Check Trusted Credentials
Depending on the Android device, navigate into something like Settings -> Security & Location -> Encryption & Credentials -> Trusted Credentials and check that PortSwigger is installed as a system-level CA.
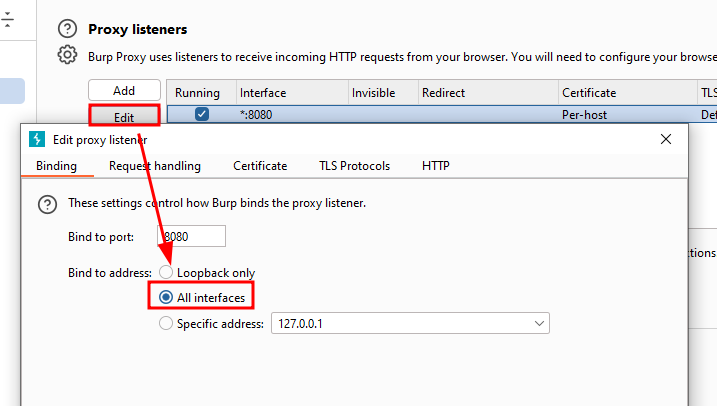
4. Manually Set Proxy
Now that we have the CA installed, we can start our proxy. First, make sure that Burp proxy is set on All interfaces.
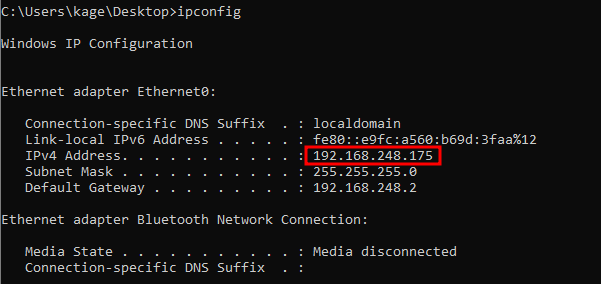
Next, make note of the IP of the host running Burp Suite. Here it's 192.168.248.175 for me.
Go into Settings -> Network & Internet -> Wi-Fi and set the Proxy setting to Manual and fill in the proxy hostname and proxy port (Burp defaults to 8080)

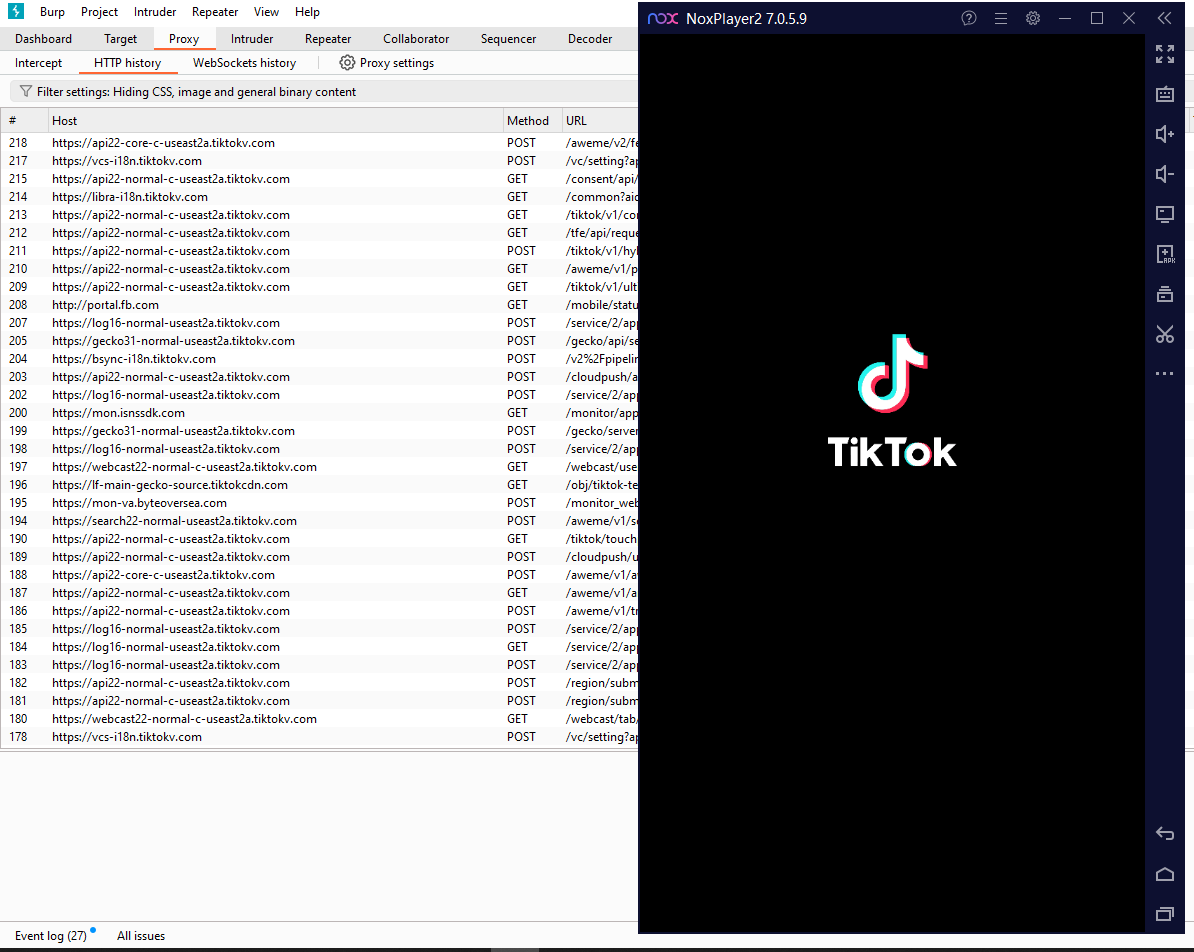
5. Start Intercepting
At this point, Burp should be intercepting all the network traffic on the Android device. Start an app, and you should start seeing traffic coming in.
Footnotes
-
Google Blog: Changes to Trusted Certificate: https://android-developers.googleblog.com/2016/07/changes-to-trusted-certificate.html ↩
-
NoxPlayer: https://www.bignox.com ↩